_edited.png)
_edited.png)
_edited_edited.png)

Altenew Educator Certification Program Class Submission For the Guys
- Kim Darling
- May 7, 2025
- 3 min read

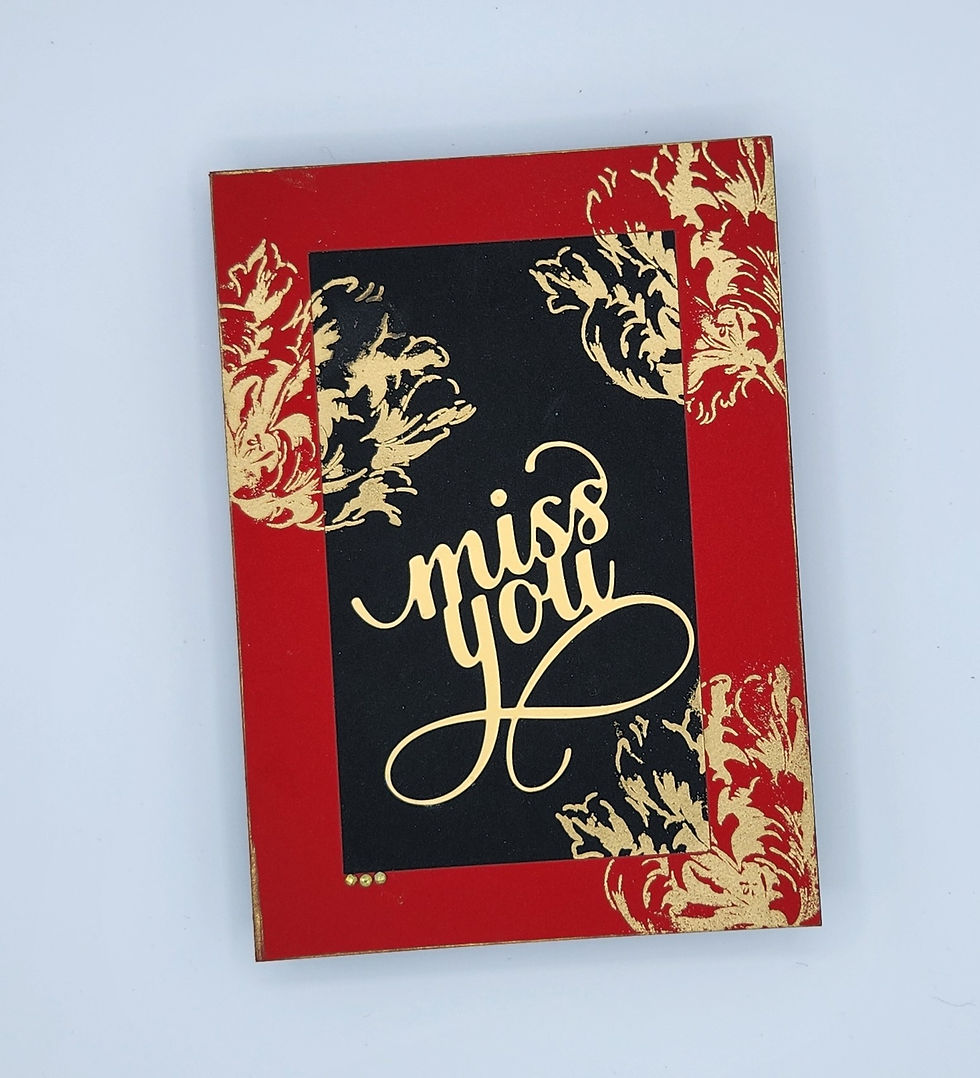
Recipe: Another Adventure

Ingredients:
Neenah Classic Crest Cover 100lb, Solar White/White or cardstock of choice
Altenew New York Stamp Set
Altenew Waterfall Scene Layering Stencil Set
Altenew Chestnut Tree Layering Die Set
Set of Rectangle Nesting Dies, 3” x 4 ¼”
Altenew Inks: Sand Dunes, Rocky Shore, Mocha, Parrot, Olive, Moss, Firefly Grass Field, Shadow Creek, Icy
Water, Frayed Leaf, Forest Glades, Fresh Leaf, and Milk Chocolate
Versafine Onyx Black Ink
Versamark Watermark Stamp Pad
Foam Tape
Card Base: Using white cardstock, create a 4 ¼” 5 ½ “ side folding card base. On the front of the card,
centered, use the Waterfall Scene Layering Stencil Set to create the water fall scene on the card. Use the inks
noted in the stencil directions.
Tree: Die cut and color a tree with the Chestnut Tree Layering Die Set. Once assembled, cut in half vertically.
Card Front: Cut a 4 ¼” x 5 ½” card front panel from white card stock. Select multiple sentiments from the New
York stamp set and stamp across and down the entire card front using Versamark. Once dry, with the
rectangle die, cut the center out of the card front panel. At the bottom of the frame, stamp the sentiment of
your choice with Black Onyx ink.
Assembly: Adhere half of the tree to the left side of the card, it will be partially under the frame, peaking out
over the stenciled area. Using foam tape mount the frame on top of the card front so that the stenciled area is
centered in the opening of the card front panel; be sure to make room for the tree that will be sandwiched
between the card base and card panel front.


Recipe: Happy Birthday

Ingredients:
Neenah Classic Crest Cover 100lbs, Solar White/White or cardstock of choice
Dark Grey 80lbs to 100lbs cardstock
Altenew Stencil Art: Nature Splashes
Altenew Inks: Limestone, Morning Frost, Blueberry, Artic, Blue Horizon, and Navy
Altenew Silver Shimmer Relief Paste
Card Base: Create a 4 ¼” x 5 ½” top folding card base with the dark grey cardstock.
Card Front and Inner Panel: Create two 4 x 5 ¼” card panels from white cardstock. Adhere one panel to the
inside of the card base. On the other panel, use stencils 1 to 3 and the Limestone, Morning Frost, Blueberry,
Artic, and Blue Horizon inks to fill in the various shapes. Apply stencil 4 with the Navy ink. Apply stencil 5 with
the Shimmer Relief Paste. Once paste is dry, adhere the card panel to the front of the card base.
Sentiment: From white cardstock cut 3 1/2” x 1 ¾” panel and, using stencil 6 and the Shimmer Paste, stencil
Happy Birthday in the center of the panel. From dark grey cardstock, cut a 3 ¾” x 2” panel. Once the paste
has fully dried, adhere the white panel to the center of the grey panel. Mount the sentiment to the front of the
card using foam tape.


Recipe: Hello

Ingredients:
Teal 80lbs to 100lbs cardstock
Peach 80lbs to 100lbs cardstock
Black 80lbs to 100lbs cardstock
Altenew Archways Die Set
Altenew Note for You Stamp Set
Versamark (embossing ink)
Ranger Garden Patina Embossing Powder
Card Base: From teal cardstock, create a 4 ¼” x 5 ½” top folding card base.
Card Front: From peach cardstock, cut a 4” x 5 ¼” panel. From teal cardstock cut the single archway from the
Archways Die Set. From black cardstock cut the tree from the Archways Die set. Adhere the peach panel to
the card base, the arch to the card panel and the tree on top of the arch.
Sentiment: From the teal cardstock, cut a 3 1/8” x 1 ¼” panel. On black cardstock, emboss the Hello sentiment
from the Note for You Stamp Set with the Garden Patina Embossing Powder. Once cooled, cut the cardstock
to 3” x 1”. Adhere the black “Hello” panel onto the teal panel, then, using foam tape, mount the sentiment onto
the card front.


WOW! Your cards are absolutely fantastic!!!!