_edited.png)
_edited.png)
_edited_edited.png)

Altenew Educator Certification Program, Season Scene Building
- Kim Darling
- May 22, 2025
- 6 min read

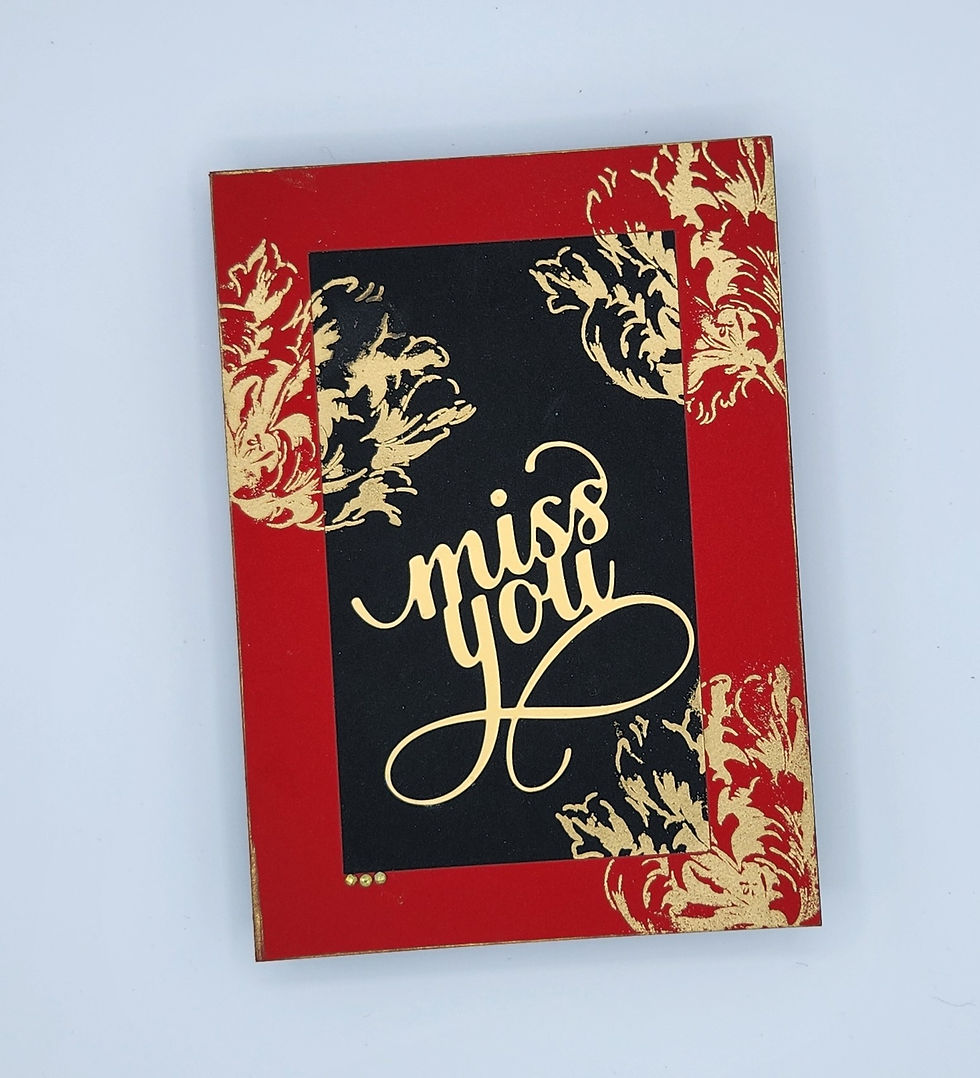
Recipe: Thinking of You

Ingredients:
Neenah Classic Crest Cover 100lb, Solar White/White or cardstock of choice
Black 80lbs to 100lbs cardstock
Altenew Thinking of You Die
Altenew Tree of Fantasy Layering Stamp Set
Altenew Inks: Forest Glades, Arctic, Golden Honeycomb, Autumn Blaze, Melted Buttersctoch, Orange Cream,
Amber Blaze, Firebrick, Mid Yellow, Lemonade Stand, Raw Umber, Sand Dunes, Rocky Shore, Mocha, and
Espresso
Olive Brown colored pencil

Card Base: Using white cardstock create a 4 ¼” 5 ½ “ top folding card base. From black card stock create a
4” x 5 ¼” panel; adhere black panel to white card base.
Card Front: From white cardstock create a 3 ¾” x 5” panel. Ink Forest Glades on the bottom inch of the card
to simulate grass. Ink Arctic on the rest of the card. Using the largest stencil from the Tree of Fantasy Stencil,
create a mask of the tree. In the center of the panel about 1/8” from the bottom, use the stencil set to ink the
first tree. Once dry, mask the first tree and to the left, about 1/4” from the bottom, use the stencil set to ink the
second tree. With the mask remaining in place, to the right of the middle tree, ink a partial tree to fill in the
space to the end of the card. Use alternating colors for the tree leaves.
Sentiment: From black cardstock, die cut two of the Thinking of You sentiments and adhere them together,
once dry, adhere to the center of the card panel and adhere the card front panel to the black panel of the card
base.
Recipe: Amazing Things Will Happen

Ingredients:
Neenah Classic Crest Cover 100lb, Solar White/White or cardstock of choice
Black 80lbs to 100lbs cardstock
Matte Gold cardstock
Acetate
Altenew Amazing Things Layering Stamp Set
Altenew Elephantastic Die Set
Altenew Gateway to Morocco Die Set
Altenew Creative Lables Sentiment Stamp and Die Set
Altenew Rustling Leaves Press Plates, Stencil and Die Set
Altenew Inks: Olive, Moss, Bamboo, Parrot, Jet Black, Lemon Ice, Mossy Meadow, Golden Honeycomb,
Amber Blaze, Silver Lake, Gray Denim, and Cloudy Night
Sequins
Foam Tape

Card Base: Using White cardstock, create a 5” x 7” side folding card base.
1 st Layer of Card Front: With white cardstock, cut a 4 ¾” x 6 ¾” panel. On the panel, from top to bottom, use
Lemon Ice, Golden Honeycomb and Amber Blaze to create a sunset background. From the Elephantastic Die
set cut one of each elephant and ink with Silver Lake, Gray Denim and Cloudy Night. Assemble dies once dry.
Adhere the elephants to the center of the card, ½” from the bottom with the large elephant on the left and the
small elephant on the right, slightly nestled under the large one.
2 nd Layer of Card Front: With white cardstock, cut a 5” x 7” panel and another 4 ¾” x 6 ¾” panel. Using the
Gateway to Morocco Die Set, cut the doorway opening approximately ½” from the bottom center of each panel.
With the black and gold cardstock, cut the decorative pieces from the same die set and adhere to the larger
panel according to the directions given. Using the Rustling Leaves Press Plates, Stencil and Die Set, stamp,
stencil and die cut two of the large leaf clusters and four of the small leaf clusters. Arrange and adhere the die
cut leaf clusters around the doorway, cutting the excess off the sides of the card and using the pieces to fill in
any empty spaces as desired. Cut two 4 ¼” x 2 ¼” panels from acetate. On the back side of the 5” x 7” panel,
adhere one of the acetate panels over the opening, on the front of the 4 ¾” x 6 ¾” panel, adhere the other
acetate panel on the front over the opening. On the backside of the 5” x 7” panel, adhere the foam tape to the
entire panel with the exception of the doorway; for the doorway, carefully encircle with foam tape so that it is
not seen from the front of the card; in the center of the acetate panel, disperse sequins of choice. Remove
release paper from the other side of the foam tape and apply the smaller panel, carefully matching up the
doorway with the doorway from the front panel. Using additional adhesive on the back of the small panel, and
being careful to avoid the acetate doorway, adhere the entire panel to the 1 st layer, with the elephants showing
through the doorway. Adhere all layers to the card base.
Sentiment: Using white cardstock, cut desired label and stamp the desired sentiment, from Creative Labels
Sentiment Stamp and Die Set. With foam tape, adhere label above the doorway.

Recipe: Congrats

Ingredients:
Neenah Classic Crest Cover 100lb, Solar White/White or cardstock of choice
Light green (12x12) and light grey, 80lbs to 100lbs cardstock
Pearlized brown cardstock
Patterned paper, 60lbs to 80lbs
Altenew Flower Arch Die Set and 3D Embossing Folder
Altenew Antique Street Lamps Layering Die Set
Altenew Bearded Iris Layering Die Set
Altenew Plants & Vases Die Set
Altenew Inks: Silver Lake, Grey Denim, Cloudy Night, Fresh Leaf, Reindeer Moss, Olive, and Moss
Altenew Artist Marker: Industrial Diamond (TG05)
Acetate
Frosted Crystal embossing powder
White embossing powder
Embossing Ink
Glossy Accents

Card Base: From green cardstock, cut a 6” tall x 5 ¾” wide, top folding card base. From black cardstock cut a
5 ¾” x 5 ½” panel and adhere to green card base.
Card Front: Using the grey cardstock, cut panel to fit the 3D embossing folder and emboss paper. Using the
Artist Marker, color the door. Using the Silver Lake, Grey Denim and Cloudy Night inks, color each block of the
stone wall, creating stones of varying colors. For the stone feature over the door, use a single color of choice
in order to differentiate the stones.
Die Cut Elements: From pearlized brown cardstock, cut the flourish that goes over the door from the Flower
Arch Die Set. Adhere the flourish in the designated spot above the door, once dry, fill in the grey spaces with
Glossy Accents, to give the impression of glass between the flourish elements. Still using the pearlized
cardstock, cut the smallest lantern from the Antique Street Lamps Layering Die Set; the die is four pieces,
there is the lantern, another top and bottom piece of the lantern and the ring the lantern hangs from. The ring
will be used as a doorknocker; there is a placeholder for a doorknocker on the right side of the door about two
slats in from the right and just over half way up; adhere the ring to the doorknocker. Put together the lantern,
once dry, cut the left and right side of the lantern to create one, single pane, glass lantern; adhere the lantern
to the left of the door. Emboss a small piece of acetate (1” x 1”) with the frosted crystal embossing powder.
Once fully dry/cooled, use the lantern die to cut the acetate and adhere the center glass panel to the lantern.
From the patterned cardstock, cut two of the large vases from Plants & Vases Die Set, put aside. Still using
the patterned cardstock (if it is not dark, use black cardstock), stamp the Congrats sentiment with embossing
ink and emboss sentiment with white embossing powder; cut sentiment strip with appropriate die from Flower
Arch Die Set and adhere to the right of the door. Using white cardstock, cut the double leaf die from the
Bearded Iris Layering Die Set. Ink both sides of leaves with Fresh Leaf, Reindeer Moss, Olive and Moss. Cut
each leaf into 5 thin strips, keeping to the leaf shape. The leaves will be “inserted” into the two large vases cut
from the patterned paper. Before adhering the vases with foam tape to either side of the door, cut the bottom
third off of each vase and ink the outer edge of the vases with Jet Black ink (if you choose a lighter patterned
paper, pick the best color match to remove the white edge, if any). Be sure to leave space between the foam
tape in order for the leaves to be “inserted” and adhered into the top of the vases. Adhere the completed front
panel to the black panel on the card base.

Which was your Favorite from this class?


Your cards are beautiful!
WOW!!! Your cards are BRILLIANT!!!